Planting Guides How to Plant Boxwoods
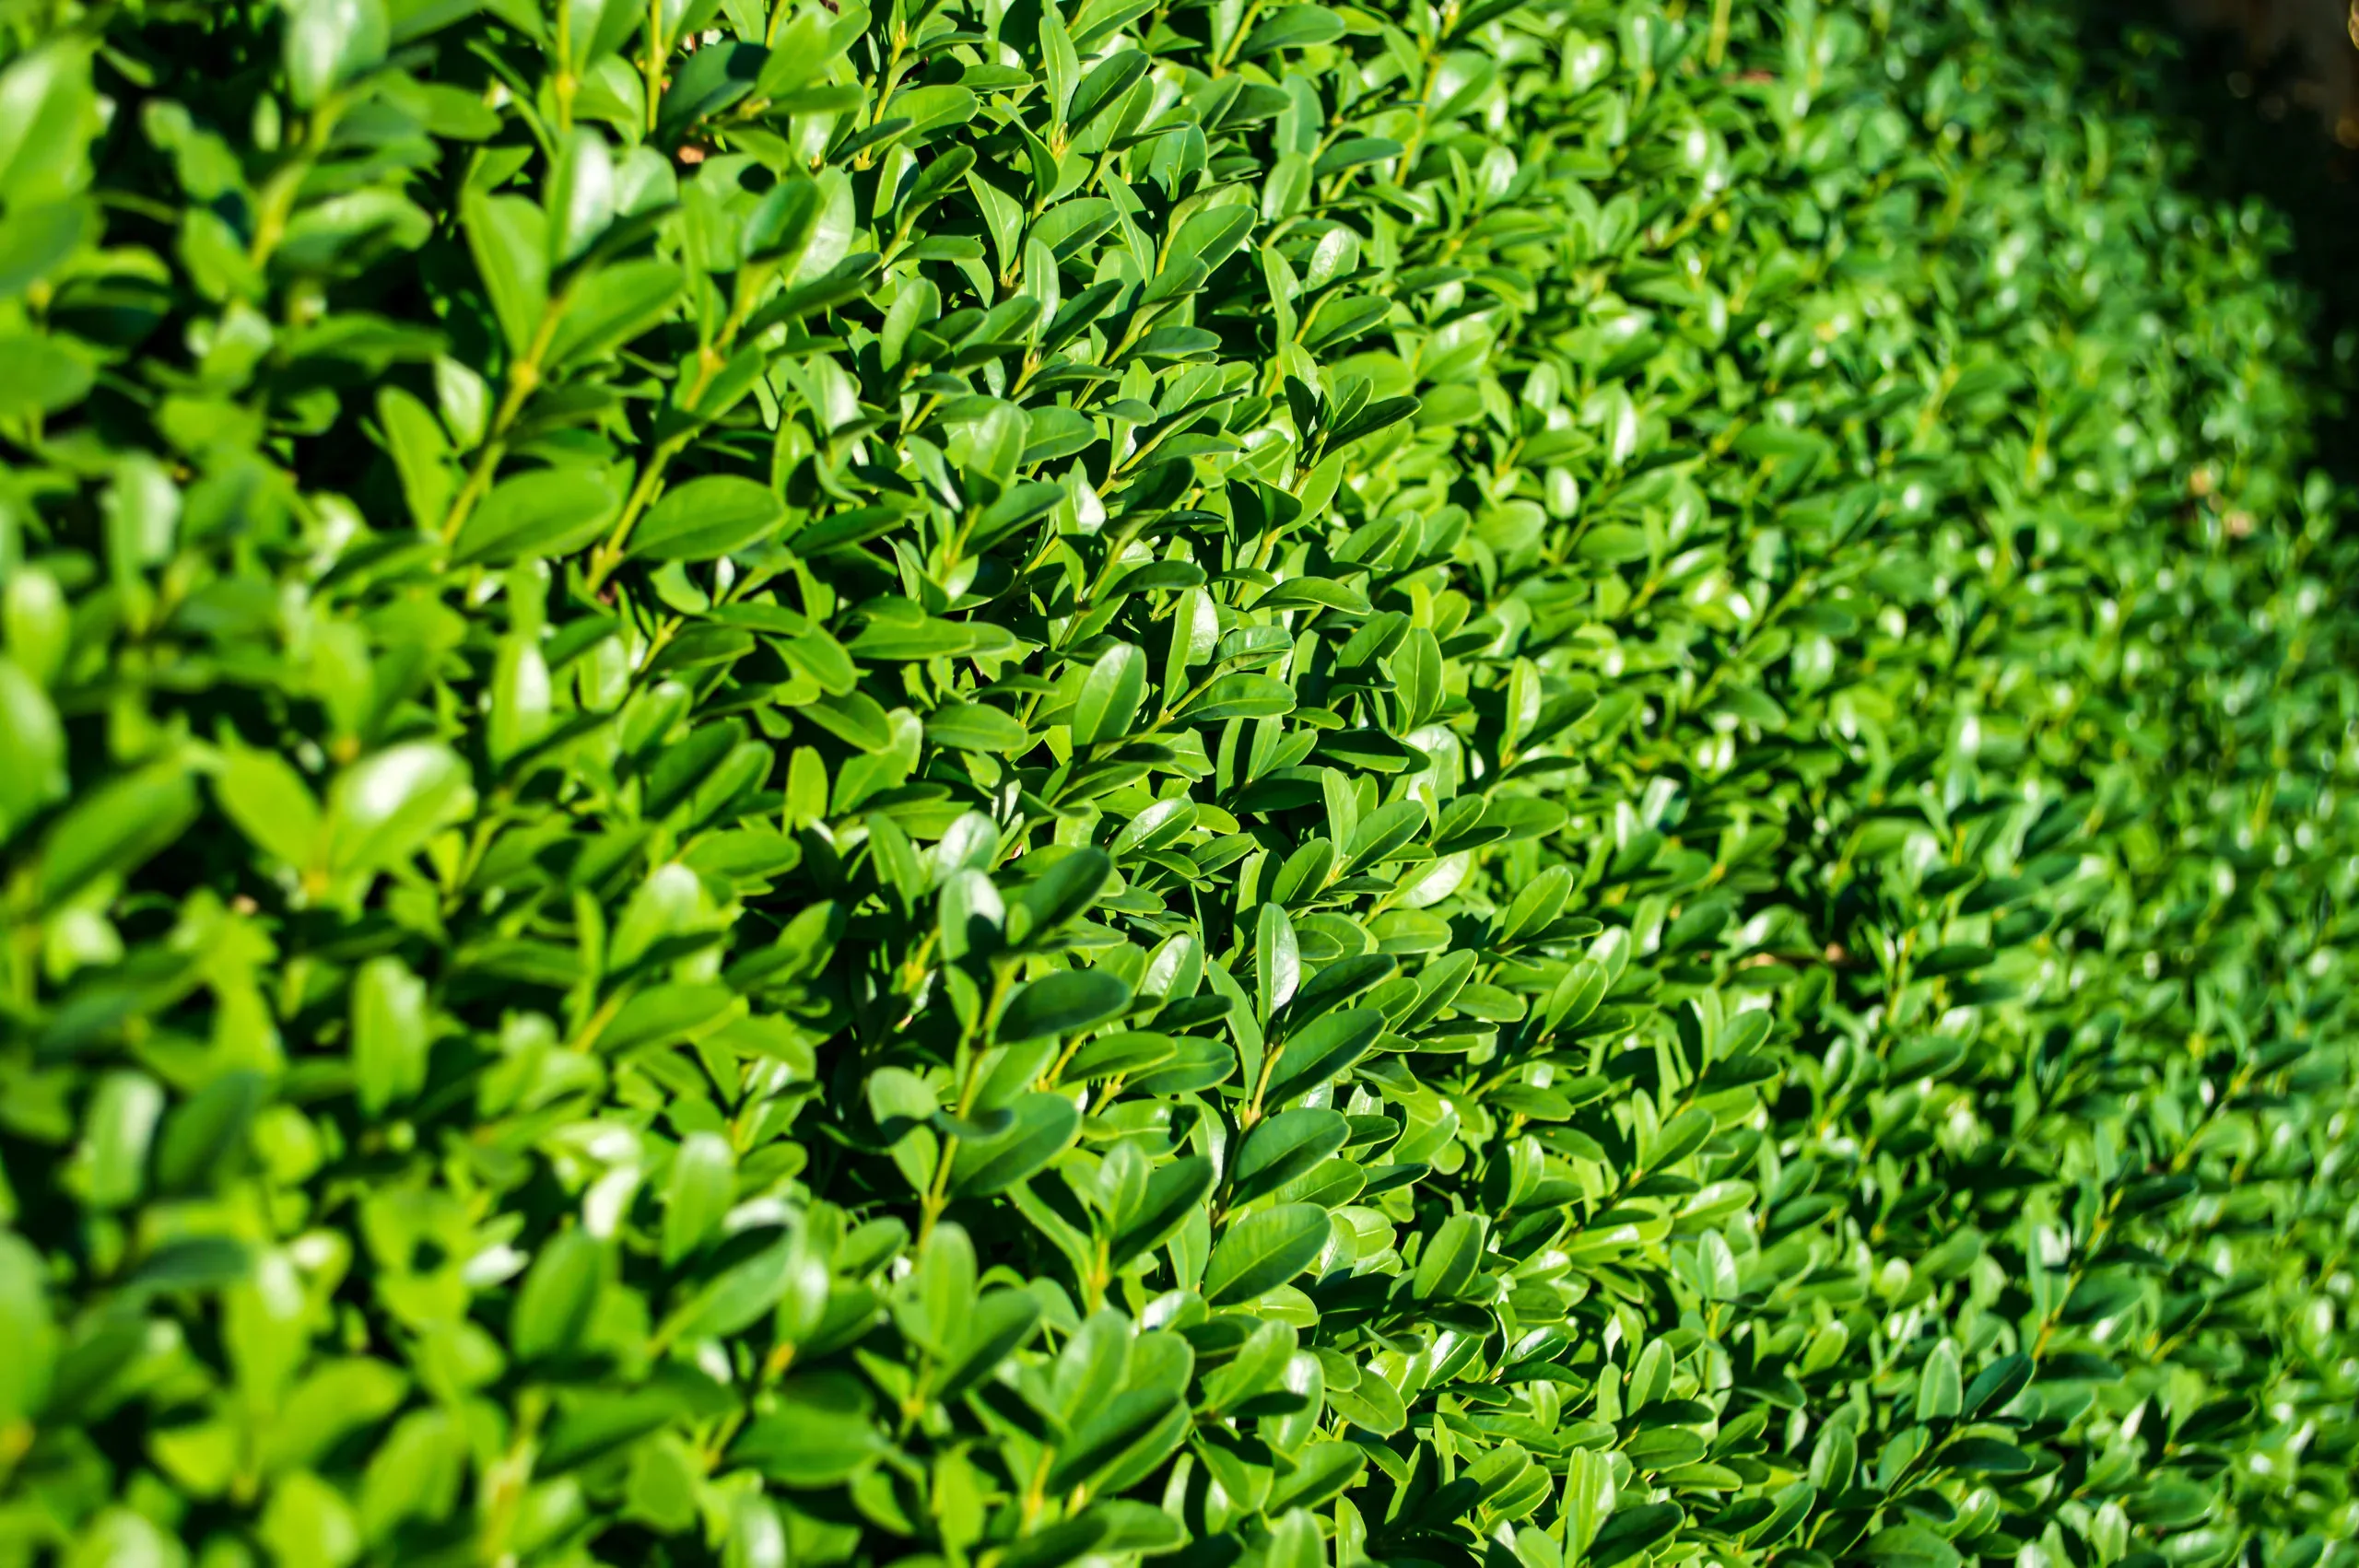
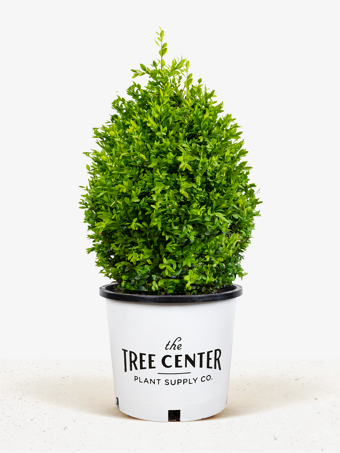
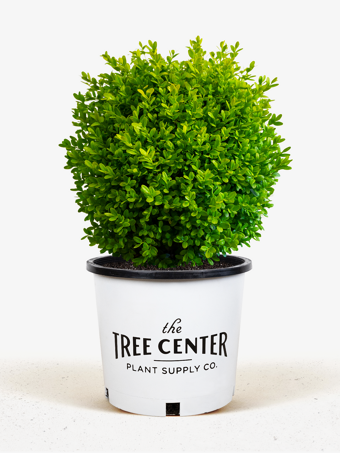
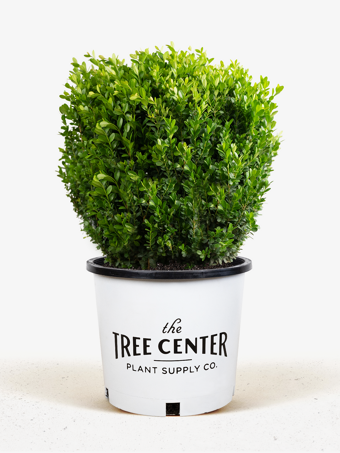
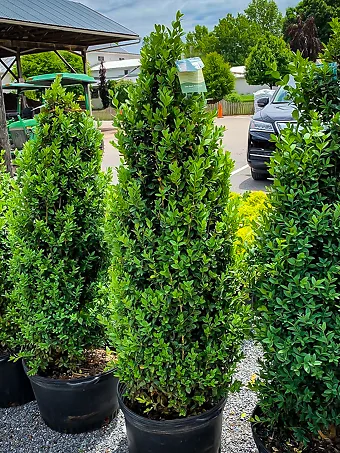
Boxwood bushes are great plants for making small or medium-sized hedges and also as specimens in the garden. They are often used as part of the planting around the house, as they can be clipped to control their size and turned into balls, cones or other shapes to make your garden interesting.
In a Nutshell
- Remove all packaging
- Water the plant in its pot
- Choose a suitable planting site for the needs of your plant
- Prepare the soil
- Dig a hole the depth of the pot
- Put the plant in its hole and replace most of the soil
- Water well, let the water drain away and put back the rest of the soil
- Put a mulch around your plant and water regularly
Remove Your Boxwood Bushes from the Box
The very first thing to do is un-wrap your boxwoods. Remove all the wrapping materials, remove them from the box and remove any wrapping around the plants themselves. Leave the boxwood in its pot until you are ready to plant. If you have received a rose tree, check that the stake is secure and put some stones around the pot so that it doesn’t fall over.
Move your plant around by picking up the pot – do not lift it by the trunk or stem.
Care Before Planting Time
Your plants have been on a journey and they will be a little stressed, so place them in a shady part of your garden and give them a good watering. Do not put them in the garage, a shed or in the house, even if it is cold outside. Your boxwood will live happily in its pot for some time as long as you care for it. After a couple of days move it into a more sunny location. Remember to water every day or every second day, depending on how warm the weather is – do not let the pot become dry. If it does become very dry, place it in a bucket and half-fill the bucket with water so that the soil can soak completely.
Choosing a Planting Location
Boxwood bushes will grow in both full-sun and partial-shade, so you have lots of choices for where you plant them. If you are not going to clip them, then allow enough space for them to reach full-size. Use the spread listed in our description of the plant as a guide. If you are planting an assortment of shrubs then take the spread of each, divide it by two and then add the numbers you get for each plant together to find the spacing between two different types of shrubs.
For planting a small English Boxwood hedge, allow 12 inches between each plant. For a taller hedge, perhaps three to four feet tall, allow 18 inches between each plant.
For a larger American Boxwood hedge, allow 3-4 feet between each plant.
If you are planting your boxwoods as a hedge along the property line, set them back three feet since your neighbor can cut them if they spread into his property.
Preparing the Planting Site
Good soil preparation is the key to the success of your boxwood. These shrubs are adaptable to many kinds of soil, but they do not want to be in soil that is permanently wet. They do like moisture, so if you have a sandy soil be sure to add plenty of organic material to the soil. Whatever your soil is like, use it. Do not try to dig a hole and fill it with soil you bought somewhere else. If your soil is poor, just use extra organic material.
You goal is to make a large area of looser soil that the young roots can penetrate easily, getting food as they go and establishing quickly. You need to have an area at least three times the diameter of the pot, dug as deep as your spade will go. Add plenty of organic material to the soil as you dig. Almost any kind of organic material is good, among the best are well-rotted cow, sheep, or horse manure (if you can obtain them); garden compost; any ‘top-soil’ from a garden centre; or if you have nothing else, peat-moss. A bucket of material per plant is about right.
In addition, plants need fertilizer to help develop their roots. This can be rock phosphate or bone-meal or any kind of superphosphate. You can also use a fertilizer for evergreens, so whatever is available will be fine.
Remove roots of weeds from the area and any stones bigger than your fist. Smaller stones can be left and it is not a good idea to sieve the soil to remove smaller stones they are best left in and can help with drainage.
Turn over the soil, mixing the organic material and fertilizer into it and then level it off and get ready to plant. Save some of the organic material you used to mulch your boxwood after planting.
Preparing the Plant
The evening before you are going to plant, give the pot a good soaking with water. If the root ball is dry when you plant, it may stay that way and cause your boxwood to suffer from dryness even if the surrounding soil is damp.
Digging the Hole
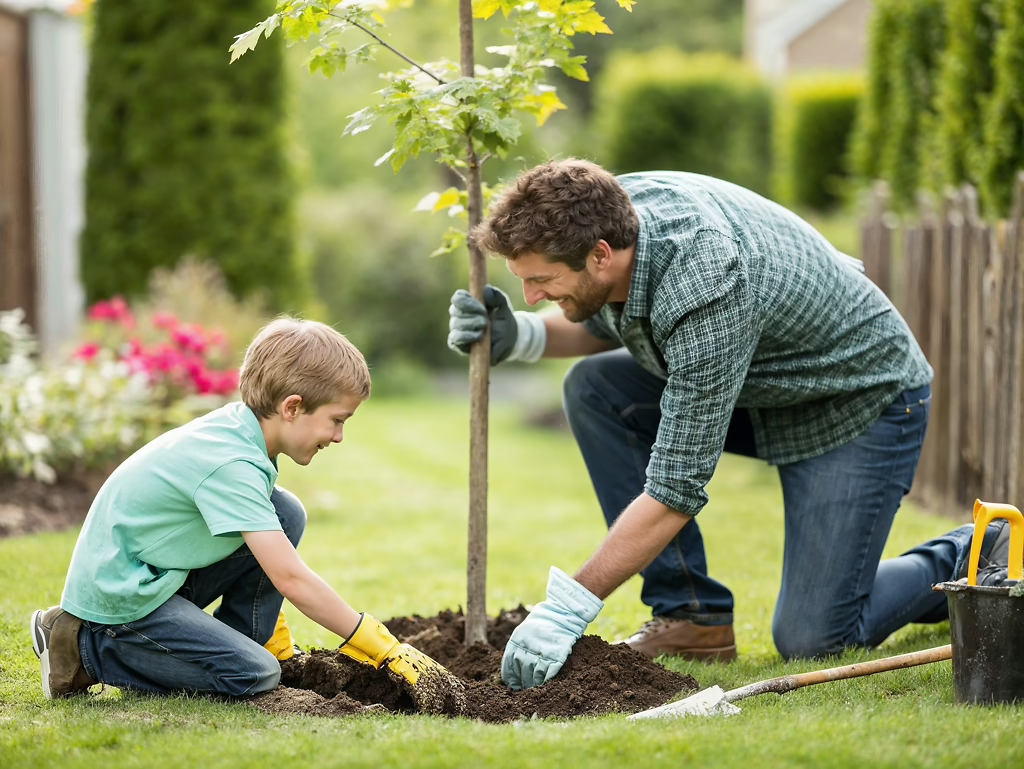
Now dig a hole in the exact spot where you want your boxwood to be, making it twice the diameter of the pot, but only just as deep. If you have dug the soil deeper than that, use your foot to press down the soil in the bottom of the hole, to form a firm base beneath the plant. This is to prevent it from sinking deeper than you want in the hole after you have planted it.
For planting a hedge, especially a small one with English Boxwood, remove a trench exactly where you want the hedge. Use a string to get the line straight. Make the trench the same depth as the depth of the pots and space the plants out evenly along the trench. For a larger hedge you can dig separate holes but a trench is often easier.
Removing the Pot
Take your boxwood to the planting hole and slide the pot gently off. You may need to tap the edge a couple of times to release the roots, but it should slide out pretty easily. Usually there will be plenty of roots filling the pot and the root-ball will stay together and not fall apart at all.
Planting the Boxwoods
Now place the plant in the centre of your hole, checking that the top of the root-ball is level with the soil around it. Replace about three-quarters of the soil in the hole, pressing it down around the roots of your boxwood. If you have left the pot on, do the same thing, but when you have finished, cut the string holding the pot together and gently work the cut pot out of the soil. Finish firming down the soil – a gentle foot pressure or firm hand pressure is about right.
Watering the Plant
Now fill the hole with lots of water, letting it soak down into the ground and into the root ball. Use plenty of water and then wait until it has all drained away. This will give plenty of water around the roots, where it is needed.
Finishing the Planting
Now put back the rest of the soil, firming it gently down. Make sure you have only covered the top of the root ball with a very little soil, no more than one inch. Make sure the soil is not sloping away from the plant or hedge, but flat, so that when you water it will stay around plant, not run away. Some gardeners like to make a low wall of soil around their plants, at a spot about twice the diameter of the pot, to retain water. This is a fine thing to do, but not absolutely necessary. Put a layer of organic material over the whole root area, about three inches deep and a few inches away from the stem and then water everything thoroughly. Keep the mulch a couple of inches away from the stem of your plant
Planting in a Container
Boxwoods are great plants for pots and containers, since their root-system is not large and they will live well for many years in a large pot. Make sure the container you choose has drainage holes, this is vital and if you can, don’t place a saucer underneath the pot as this can keep the soil too wet. Use a soil for outdoor planters from your local garden center.
Make sure your container is large enough for there to be soil beneath and around the root-ball. Water the container thoroughly after planting and then whenever it starts to become a little dry on the top layer.
Boxwood bushes in containers should be left outdoors in the winter; as they need a period of cold weather.
Follow-up Care of Boxwood Trees
Replace the mulch over the roots each spring and use an evergreen plant fertilizer as well. Regular clipping from late spring to mid-fall will keep your plants dense and attractive, but plants that are left unclipped will also grow into interesting and attractive informal bushes, so clipping is not absolutely necessary at all.
So that is it. Your new boxwood is set for a great life and will reward you with greater and greater beauty every year as it develops into a perfect specimen. A little care really pays off.


Comments 6 comments
Is it ok to go ahead and put our boxwoods in the ground if it may get down to 32 degrees again? These came almost a week earlier than we thought and we have another colder night or two in the forecast!
I have two huge ceramics planter with no holes for drainage. I wanted to plant two winter gem boxwoods in them but, I am afraid it will become diseased. How can I put a hole in my pots without cracking and destroying them? They are decorative and very expensive. I think the Boxwoods would look lovely in them .Help!!!
My boxwood turns yellow. I placed it in pig pots in the front door. Do I have to plant it in the ground? How do I take care of it so it does not die.
Thank tou.
Athanasios
My boxwood turns yellow. I placed it in pig pots in the front door. Do I have to plant it in the ground? How do I take care of it so it does not die.
Thank tou.
Athanasios
Is there a boxwood that grows 4 ft or taller?
I live in zone 4, I believe. It is in Rapid City, SD. Does a boxwood do well in this area?