Written by s • How To Grow A Blue Spruce Tree From A Seed
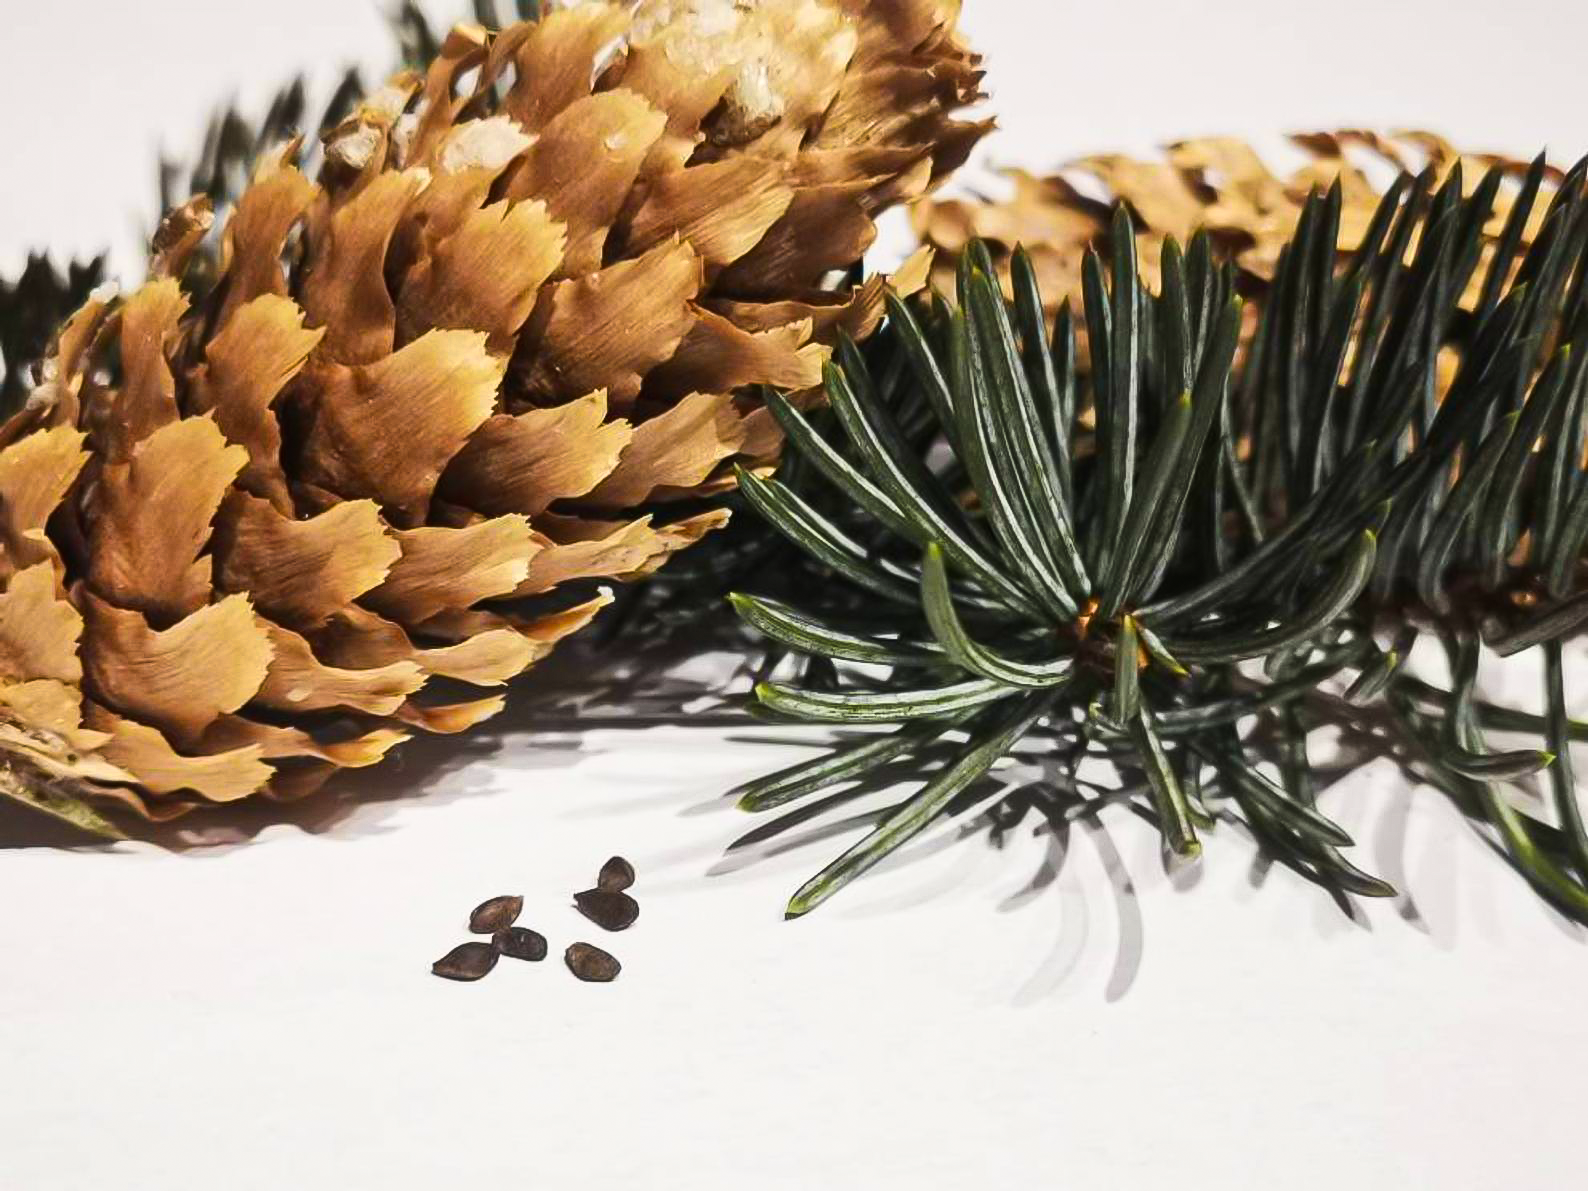
Growing trees from seed is not difficult, and the pleasure of seeing – in just a few years – that thriving young tree that you brought to life, is a great joy, for adults and for children. Teach your kids patience and delayed gratification while developing their nurturing skills. Every towering spruce tree came from a tiny seed just like the ones you are holding in your hand, so let’s bring about that miracle of nature.
What You Will Need
- A small plastic pot about 4 inches across, or 5 empty yogurt pots
- Some houseplant soil for cactus or succulent plants (not garden soil)
- A Ziplock bag large enough to hold the pot standing upright
- A small bowl
- Water
What You are Going to Do, and Why
Like many tree seeds, Blue Spruce seeds need a period at low temperatures to allow them to sprout. This is to protect them from sprouting in the fall, when they would then be killed by the winter cold. The seeds must be moist to do this. For small numbers it is easiest to do this by sowing them, and then chilling them in the pots. After that they need warmth and light to germinate, which may take several weeks. The soil must remain moist, but not wet, at all times. The young seedlings should be left outdoors through their first winter and placed in larger pots the next spring. Enjoy watching your babies grow!
15 Easy Steps to growing A Blue Spruce Tree
- Place the seeds in the bowl. Cover with an inch or two of water. Leave overnight
- Wash the pots in warm soapy water, rinse and dry. Make a small hole in the bottom of the yogurt pots
- If the soil looks dry, mix it in a bucket with enough water to make it damp, but not wet
- Fill the pots with soil almost to the top, without shaking or pressing it down
- Press down the soil evenly. You should now have an inch or two of space.
- Place a seed on the top of the soil, or space them evenly over the surface of your 4-inch pot
- Fill the pot almost to the top with more soil – don’t pack it down
- Stand the pots in a flat-bottomed bowl and add cold water untill it is halfway up the sides of the pots. Leave until you see the surface looking wet. Remove from the water and let drain for an hour or two. Don’t disturb the soil
- Place the pots inside the Ziplock, upright, and close it, trapping a little air
- Put the bag and pots in your fridge. Leave for at least 6 weeks, and preferably longer. Check occasionally to make sure they are still moist. They can stay there until the end of winter
- Remove the bag from the fridge, and the pots from the bag
- Place in a warm, bright place, with temperatures above 60 degrees F.
- Water carefully if the soil begins to dry out
- Keep the young plants in a sunny spot, preferably outdoors, once they begin to sprout. Water as needed, and feed monthly with ½ strength liquid evergreen fertilizer
- Transplant into a larger pot the following spring
